Knowledge Base
Welcome to OPAL-RT’s Knowledge Base
OPAL-RT offers a repository of support information for optimal use of its technology.
Please note that OPAL-RT knowledge base is not fully optimized for mobile platforms.
For optimal experience, use a desktop computer.
|
Reference Number: AA-02081// Views: AA-02081// Created: 2022-07-15 18:59:32// Last Updated: 2023-04-06 17:48:22 TestDrive TestDrive: How to Run a RT-LAB Model Using TestDrive TestDrive
is an Opal-RT tool which allows to run a RT-LAB model without need to use Matlab
and RT-LAB, once the model be already compiled.
The goal of TestDrive is to provide a nicer user interface
than Simulink user interface using LabVIEW panels. These panels can also
control parameters and variables.
1 – Select
a RT-LAB model. Choose a
model that is already configured and running on RT-LAB. If it is the first time using TestDrive, there is a demo model available at the TestDrive folder: C:\OPAL-RT\TestDrive\v2.9.0.16\Models\PID_Example 2 – Compile
the model in the RT-LAB
Create an
empty project in RT-LAB, and link the model that is to be compiled. Do not import the model since that will create a copy on RT-LAB directory folder.
Check if
the Matlab version of the project is up to date with the RT-LAB version that is being used. Check the compatibility between the versions on RT-LAB: Basic Concepts and Compatibility Also verify
if theSimulink model is saved in the .mdl format. If it is saved as .slx open
it in the Matlab and save in the .mdl format. In RT-LAB it is necessary to
close the project and reopen it to identify the change on file format. Build
the model in RT-LAB. Do it while assigning the model to a target or even
using the localhost (assign the localhost to the model).
Now it is possible to close Matlab and, also, RT-LAB. 3 – Open TestDrive Click to
open the Testdrive application.
Launch the
MetaController. If RT-LAB is still open, it will not ask to
launch MetaController since it will already be running.
In the
sequence, a login window will be launched. Just click on Login. No extra
information is required.
4 –
Configuring the model on TestDrive
In the
TestDrive window, click on Options. It will open another window with four
different tabs.
In the
General Tab, check if the Model Path is exactly the same from the model that was previous built in RT-LAB (if the path that is set corresponds to a
model that was not compiled, it will be in red and the Targets tab will not
appear). In the Panes
Tab it is possible to set some pre-defined elements in the simulation panel. Basically,
set the Control and Pane options. In the
Targets Tab you can assign the simulation to a target to run it in real-time,
or you can run it offline running on the localhost.
After that,
click in Load. 5 – Running
the model on TestDrive
After loading the model, a new window will open, and the simulation will start to run.
At this
point it is not possible to work in the RT-Lab model itself, but it is possible
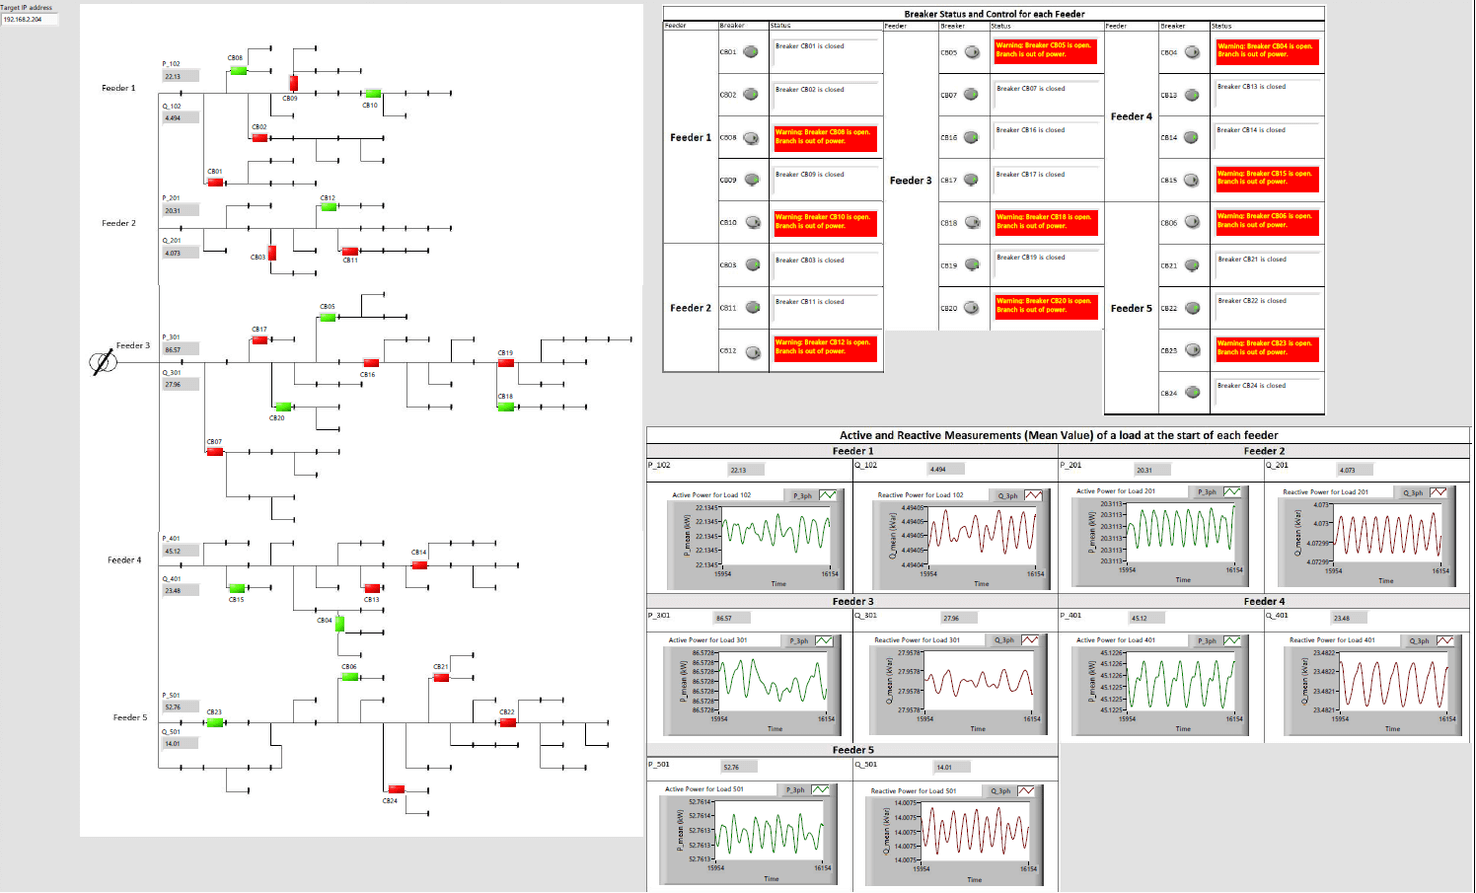
to interact with the model using Labview panels, as the one presented in the
picture (it corresponds to the TestDrive demo model).
|


