Knowledge Base
Welcome to OPAL-RT’s Knowledge Base
OPAL-RT offers a repository of support information for optimal use of its technology.
Please note that OPAL-RT knowledge base is not fully optimized for mobile platforms.
For optimal experience, use a desktop computer.
|
Reference Number: AA-01624// Views: AA-01624// Created: 2019-03-27 18:02:19// Last Updated: 2019-03-28 02:37:46 HowTo How to run an existing TestDrive project using TestDriveV2.8? How To run an existing TestDrive project using TestDriveV2.8? The goal of this KB article is to facilitate the utilization of TestDriveV2.8 with RT-LAB. In this KB, we will look at importing an example model with an existing TestDrive panel. Here are the versions used to run this model successfully,
It's important that LabView Run-Time 8.5 is installed for TestDriveV2.8 to work. Please refer to this KB article to make sure the proper version of the LabView Run-Time is installed. If you don't have the installation of TestDriveV2.8, please contact OPAL-RT Technical Support.
After the installations of the above softwares, please follow these steps, Note: Make sure that you start this process from a NEW RT-LAB workspace. STEP 1: Import and Build in RT-LAB Import the attached project (Example_Microgrid.zip) into RT-LAB. This KB shows how to import a project into your workspace. To build the model, right click on the model and do Build configuration. Make sure to select the simulator that you need to run the model when doing the Build configuration
Note: RT-LAB needs to be open for TestDrive to connect to the model STEP 2: Open TestDriveV2.8 To open TestDrive, click on the TestDrive icon on your Desktop. This will open the following interface,
Click on "Ok" to login STEP 3: Unpack a TestDrive project To have access to the existing panels and existing TestDrive configurations, we need to unpack the attached project (APEC2019_SEL_TSB.zip) using TestDrive. To do that, click on the option Unpack,
Select your project and click OK
This will open up the following interface,
This is an IMPORTANT part, 1.Shows the project that is been selected 2.The name of your project. Leave it as it is 3.Don't leave it default. Make sure it points at the same location of your model saved in your RT-LAB Workspace from STEP 1 4.Leave it Default as shown in the image 5.Click on Extract Step 4: Model configuration and Target connection We need to link the model and map the target in TestDrive. Please do the following, Click on Options,
Link to your model in RT-LAB workspace selected in STEP 1,
In the Target option, select the simulator that you want to run the model,
1.Click on your Simulator in the Targets list 2.Click on Map When you are done with the configuration, click on OK STEP 5: Loading the model using TestDrive To load the model on to the simulator, you don't need to click load on RT-LAB. Simply click on the OK button in TestDrive and your model will load and execute,
If you get the following popup after clicking OK, make sure to click on Load Existing,
When the model is successfully running on the simulator, you will see the following in RT-LAB,
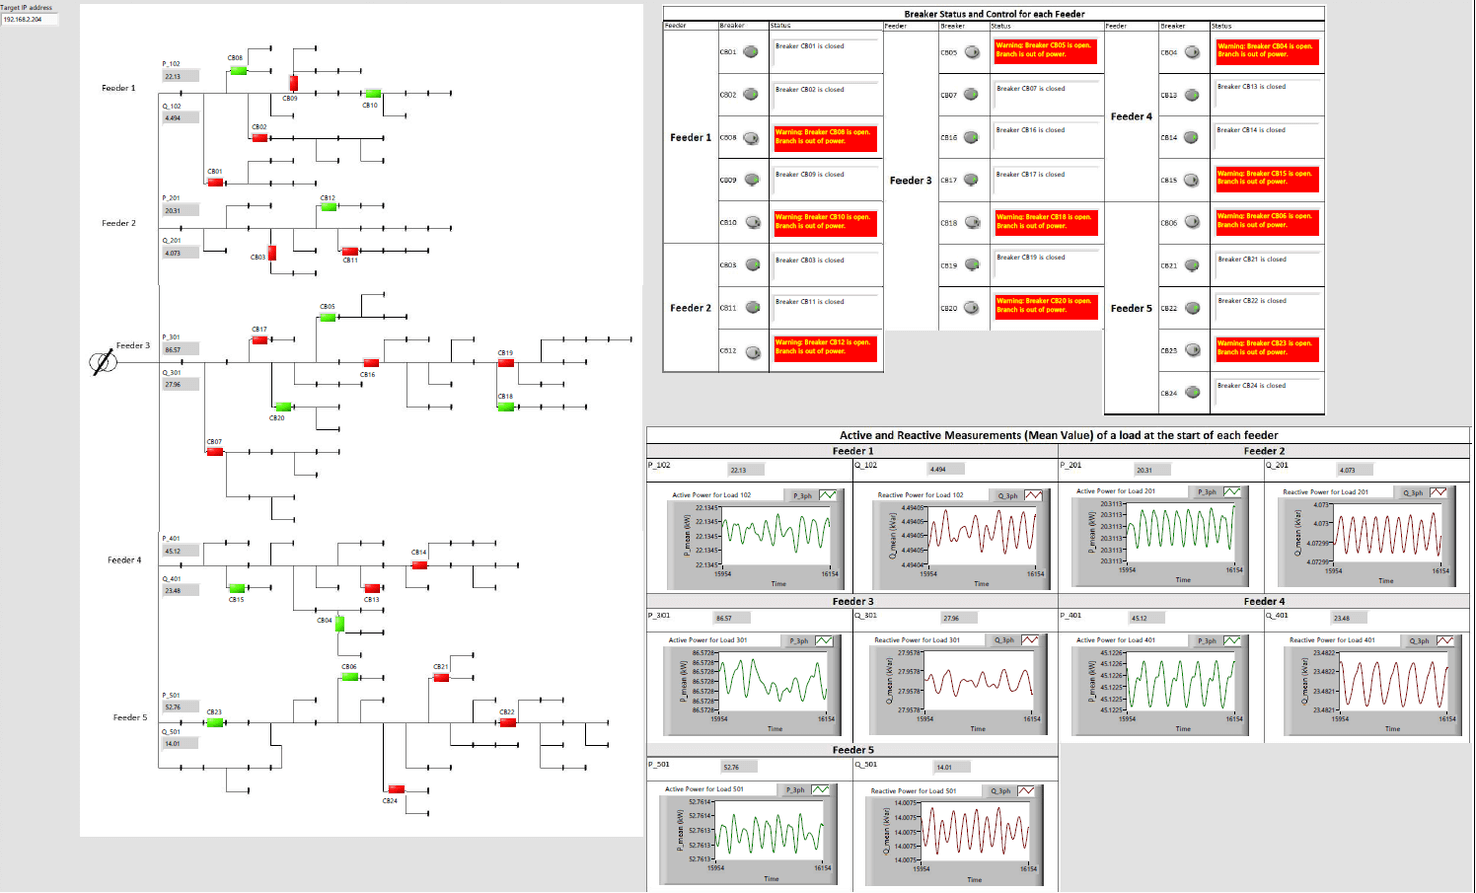
There will be a Panel open in TestDrive that will allow the user to control and view the result of the simulation,
IMPORTANT NOTE: This panel was set for a computer screen with the resolution 1080p. If you use screen resolution other than that, you might see a part of the panel. To fix the issue,
I recommend the first option. For more information regarding this example, please refer to this Webinar, https://www.opal-rt.com/microgrid-overview/#webinar-microgrid
|


